Reviewed · FISHERMAN'S WHARF & PIER 39
Fisherman’s Wharf & Pier 39 Food Tour – Includes Full Meal, 3 hrs
San Francisco has a way of turning snacks into stories. This Fisherman’s Wharf & Pier 39 Food Tour strings together famous bites with real neighborhood context, from old-school chocolate to the sea lion crowd at Pier 39.
I like that it’s built as a small, private experience where you get to ask questions, not just follow the herd.
The two things I love most are simple. First, you end up eating the equivalent of a full meal across multiple stops: hot chocolate, seafood taco, sourdough, clam chowder, honey tasting, and donuts. Second, the guides get people engaged and moving—names like Jacob, Marcy, and Robin come up again and again for their energy and city-smarts.
One thing to consider: this is a walking tour (you’ll cover about a mile to the end), and the food piles up fast. If you’re not great with big portions, plan on pacing yourself.
In This Review
- Quick hits before you go
- Fisherman’s Wharf to Pier 39: more than “just food”
- Price and value: what $99 buys in real calories
- The route is short, but the experience feels complete
- Andrea’s Fountain: where the tour gets rolling
- Ghirardelli Square and hot chocolate: the Gold Rush connection
- Boudin at the Wharf: sourdough that comes with a survival story
- Musée Mécanique: old arcade machines and coin-operated charm
- Pier 39: sea lions, seafood energy, and the payoff
- What’s actually included (and how to make it work for you)
- The guide factor: why private tours change the whole walk
- Getting there and timing your day
- Who should book this (and who might pass)
- Should you book this Wharf and Pier 39 Food Tour?
- FAQ
- How long is the Fisherman’s Wharf & Pier 39 Food Tour?
- What time does the tour start?
- What’s included in the meal?
- Where do I meet and where does it end?
- Is this a private tour?
- What if the weather is poor?
Quick hits before you go
- Full-meal feel in 3 hours: hot chocolate, seafood taco, sourdough taste, clam chowder, honey tasting, and donuts
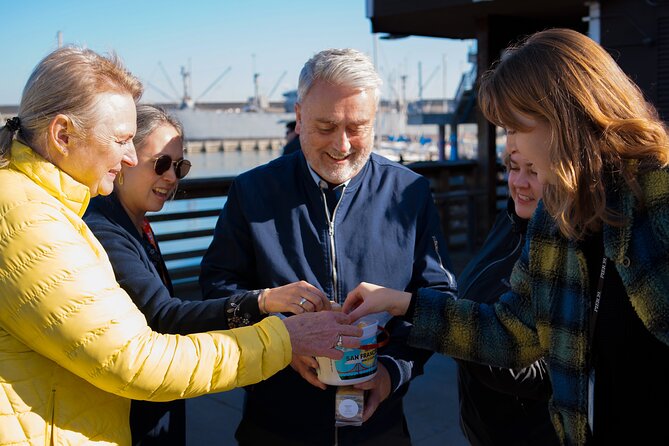
- Private group energy: you get local tips and can ask questions along the way
- Icon stops plus oddball fun: Ghirardelli Square, Boudin, and a mechanical arcade museum
- Sea lion payoff at Pier 39: watch the colony and listen to the chaos
- A walk with purpose: you start near Ghirardelli Square and finish on the Embarcadero at Pier 39 (about a mile)
Sea lions, crab stands and more of the Wharf

Fisherman’s Wharf to Pier 39: more than “just food”
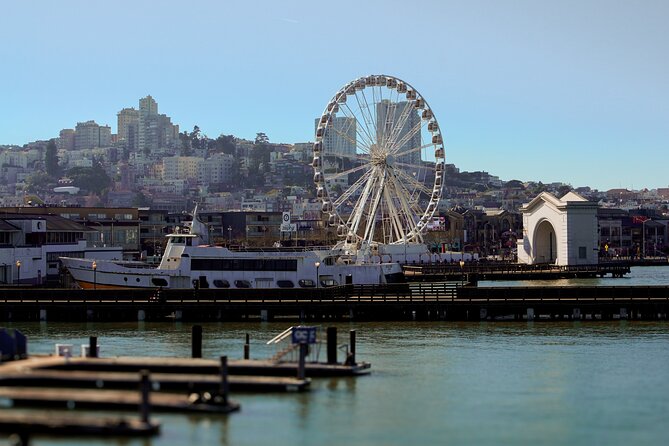
This tour works because it doesn’t treat the Wharf like a theme park food court. You’re not only sampling treats; you’re also getting short, human-scale history and practical “how to enjoy this area” advice.
You start in the Ghirardelli Square orbit and end up on Pier 39, with time built in for tasting and for a couple of well-chosen stops that aren’t strictly food. That mix matters. If you only eat, you miss the flavor of the place. If you only sightsee, you miss why this neighborhood exists in the first place.
The vibe is also friendly to different kinds of visitors. You’ll see people who travel just to eat, and you’ll also see folks who want a lighter way to understand San Francisco beyond the postcard stuff.
Price and value: what $99 buys in real calories
At $99 per person for about 3 hours, you’re paying for two things: a tight route and included food. The included list is unusually clear, too. You get soda/pop plus a meal-style mix that covers sweet, savory, and classic San Francisco seafood-and-bread comforts.
Here’s what’s on the included menu:
- Hot chocolate
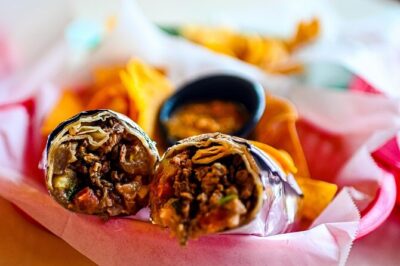
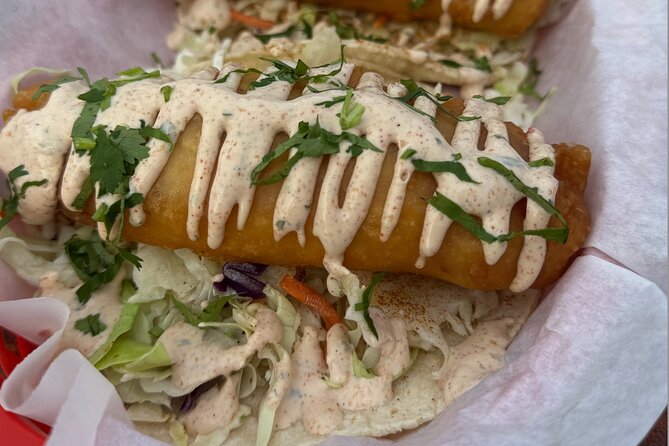
- Seafood taco
- Sourdough bread taste
- Clam chowder
- Honey tasting
- Donuts
- Soda/pop
That’s a lot of stops for one walk. And it’s not just random bites. The route builds in a pattern: warm start, bread icon, seafood comfort, then dessert. If you’ve ever wondered what to eat on the Wharf without paying tourist prices, this format is the point—you get a planned spread so you’re not guessing.
The route is short, but the experience feels complete
This is designed around a simple walking arc. You meet at Ghirardelli Square (900 North Point St E204A) and finish at Pier 39 on the Embarcadero. Expect about a mile of walking to get to the end.
That matters because it keeps the tour from dragging. You’re not trapped on a long shuttle, and you’re not spending the day crisscrossing the city. Instead, you’re in one concentrated zone and you’re getting stops every so often so you can breathe, taste, and listen.
You’ll also want to note the start time: 11:00 am. This is a good lunch-adjacent schedule. You’re hungry at the start, you’re well-fed by mid-tour, and you’re not stuck eating at awkward late-day hours.
Andrea’s Fountain: where the tour gets rolling
Your meeting point is Andrea’s Fountain. It’s quick, but it sets the tone. A good tour start should feel easy to locate and easy to join, and this one stays simple.
From there, you move toward the first big “wow” stop: Ghirardelli Square. You’re not rushing. You’re settling into the neighborhood and building anticipation for the food.
Still hungry? The city plate by plate
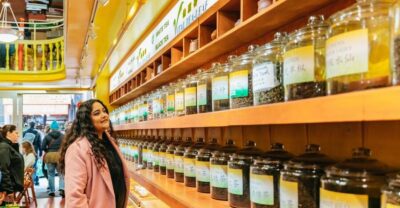
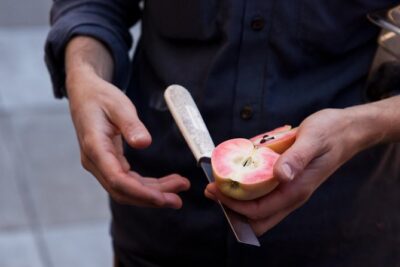

Ghirardelli Square and hot chocolate: the Gold Rush connection
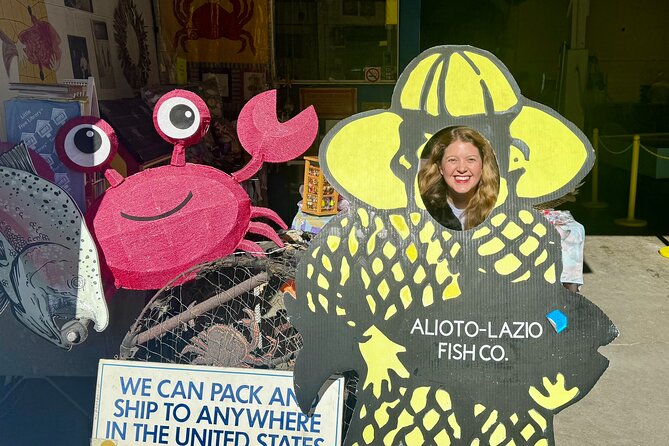
Ghirardelli Square is where the tour warms up. You’ll grab a rich, velvety hot chocolate (with the stop timed at about 15 minutes).
This stop isn’t just about sweetness. You get the story behind Domenico Ghirardelli, an Italian immigrant who arrived during the Gold Rush in 1852 and helped shape a lasting legacy. That kind of context turns a cup of hot chocolate into more than a snack break.
Practical tip: treat this as your “arrive-ready” moment. It’s warm, it steadies your appetite, and it gives you something to savor right as the walk begins.
Boudin at the Wharf: sourdough that comes with a survival story
Next you head to Boudin at the Wharf, with time set aside to experience the bakery’s sourdough culture (also about 15 minutes). You’ll do a sourdough bread taste and hear the story tied to its origins during the Gold Rush.
There’s also a very San Francisco detail here: Boudin’s story includes a 1906 earthquake and its rebound afterward. That’s part of why this stop feels meaningful. You’re tasting something that’s been part of the city’s daily life, not just merch for tourists.
One note: your “tasting” is a taste, not a full meal replacement. It works because the tour feeds you enough later that you don’t leave hungry. You’re learning the bread, not just stuffing your face.
Musée Mécanique: old arcade machines and coin-operated charm
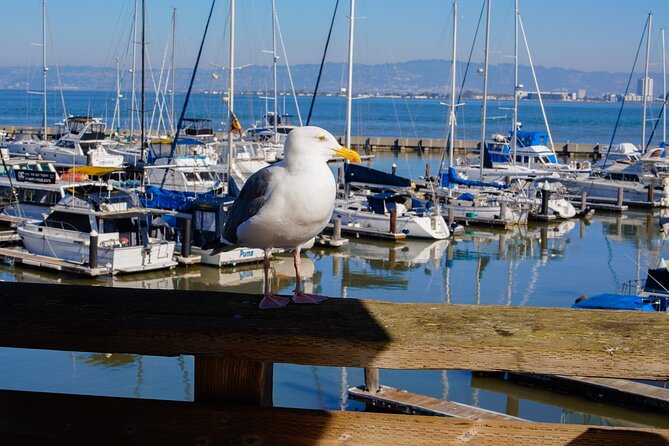
Musée Mécanique is a smart palate-cleanser between food stops. You’ll spend around 15 minutes here, and it’s exactly what it sounds like: a quirky museum with vintage arcade machines, mechanical musical instruments, and coin-operated games.
This stop is useful even if you’re not a big museum person. It breaks up the walking and gives you something hands-on and silly. Toss in a few quarters and watch the machines do their thing. It’s also family-friendly without feeling childish.
If you’re traveling with kids, this is the kind of stop that prevents the tour from turning into adults-only conversation time.
Pier 39: sea lions, seafood energy, and the payoff
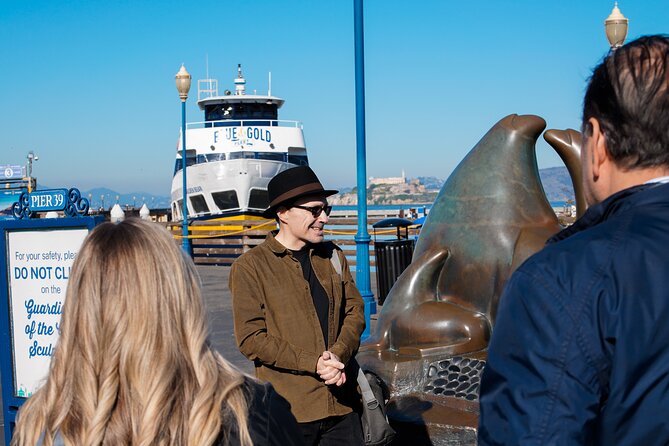
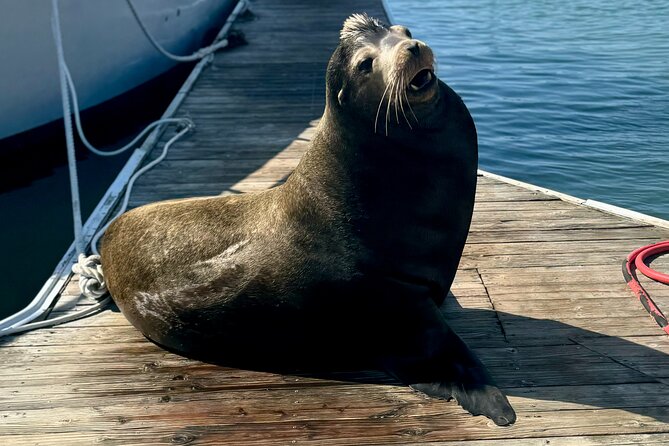
Finally, you reach Pier 39, where the energy changes. The sea lion colony is the headline. You’ll get about 30 minutes here, enough time to find a spot, watch the colony under the pier, and absorb the constant barking and braying.
This is where the tour’s “famous San Francisco” angle lands. Pier 39 is touristy, sure—but it’s touristy for a reason. The sea lions are real, loud, and oddly charismatic.
Food-wise, you’re positioned to enjoy your heavier items here and around the tour flow—especially the clam chowder. Chowder on the Wharf isn’t a fancy choice. It’s comfort food, and it fits the place.
What’s actually included (and how to make it work for you)
Because the included food list is solid, you can plan around it instead of guessing. You’re not paying extra at every stop.
Included lunch-style items:
- Hot chocolate early
- Seafood taco
- Sourdough bread taste
- Clam chowder
- Honey tasting
- Donuts
- Soda/pop
How I’d pace it: take small bites at each tasting moment, then enjoy the chowder like your main “comfort meal.” Save the donuts for after your sea lion break, when you can slow down.
If you’re the type who likes to sample and not overdo it, you’ll still likely feel satisfied. If you love food and want to try everything, you’re in luck, because the route delivers a lot.
The guide factor: why private tours change the whole walk
The best tours don’t just hand you snacks. They turn the walk into something you understand.
This tour is private—meaning it’s only your group, not a giant mix of strangers. That structure makes it easier for the guide to tailor pace and answer questions.
Guides named Jacob, Marcy, and Robin show up in the experience record with a common theme: keeping the group engaged and blending food with neighborhood storytelling. One guide is even noted for handling kids smoothly, which tells me the pacing tends to stay friendly instead of lecture-heavy.
If you’re a first-timer in San Francisco, you’ll appreciate the “how to see this area” guidance. If you already live nearby or have visited, this kind of tour can still help you notice places you’ve never paid attention to.
Getting there and timing your day
The tour is listed as near public transportation, and the Wharf area is well-served by transit options. One helpful local detail is that the F Market streetcar runs through the area. If you’re planning a day downtown, that’s a decent way to connect without needing a car.
Because the tour ends at Pier 39, you can also keep your schedule flexible after. It’s easy to roll into a longer Wharf stroll, grab another snack nearby, or just use the area as your waterfront “anchor.”
Who should book this (and who might pass)
You’ll probably love this if:
- you want a food-focused introduction to Fisherman’s Wharf
- you like short history tied to what you’re eating
- you want a private route instead of a big group shuffle
- you’re okay with a mile of walking over 3 hours
You might think twice if:
- you prefer lighter, non-walking food stops
- big portions aren’t your thing
- you’re hoping for a strict focus on seafood only (this is broader: chocolate, bread, honey, and dessert included)
Should you book this Wharf and Pier 39 Food Tour?
If you want a simple way to eat your way through the iconic side of San Francisco without making a list and guessing prices, I’d book it. The included full-meal mix plus the sea lion payoff at Pier 39 makes it feel like a complete experience in a short time.
The only real “watch out” is portion volume and the walk. If you come hungry and you pace yourself, the $99 feels fair because you’re not paying for each bite à la carte. If you’re sensitive to too much food in one sitting, consider eating lightly before you start and saving your “I’ll try everything” energy for the stops that truly matter to you.
FAQ
How long is the Fisherman’s Wharf & Pier 39 Food Tour?
It’s listed as about 3 hours.
What time does the tour start?
The start time is 11:00 am.
What’s included in the meal?
The tour includes hot chocolate, a seafood taco, sourdough bread taste, clam chowder, honey tasting, donuts, and soda/pop.
Where do I meet and where does it end?
You meet at Andrea’s Fountain near Ghirardelli Square (900 North Point St E204A) and end at Pier 39 on the Embarcadero. The tour notes about a mile of walking to the end point.
Is this a private tour?
Yes. It’s private, meaning only your group participates.
What if the weather is poor?
The tour requires good weather. If it’s canceled due to poor weather, you’ll be offered a different date or a full refund.
More Tour Reviews in San Francisco
- Muir Woods and Sausalito (Return by Bus or Ferry)★ 4.5 · 5,098 reviews
- Big Bus SF: Hop-on Hop-off Tour with 17 Stops and Sunset Option★ 4.0 · 4,539 reviews
- Napa and Sonoma Wine Country Full-Day Tour from San Francisco★ 4.5 · 4,455 reviews
- Small Group Yosemite and Giant Sequoias Day Trip from San Francisco★ 5.0 · 3,671 reviews
- San Francisco: Golden Gate Bay Cruise★ 4.7 · 3,644 reviews
- San Francisco: Hop-On Hop-Off Sightseeing Tour with 17 Stops★ 4.5 · 3,600 reviews
Eat San Francisco: More Food Walks
- San Francisco Authentic Food Tour with 5 Locals Favorites Dishes★ 5.0 · 852 reviews
- San Francisco: Chinatown Culinary Walking Tour★ 4.8 · 265 reviews
- San Francisco: North Beach and Little Italy Food Tour★ 4.8 · 188 reviews
- Mission District Food Tour: Appetizers, Entrée and Dessert★ 5.0 · 182 reviews
- Exclusive North Beach Food Tour in San Francisco★ 5.0 · 162 reviews
- SF’s Chinatown: Tea & Dim Sum Food Tour – Includes full meal, 3hr★ 5.0 · 153 reviews
More of Fisherman’s Wharf
- San Francisco: Alcatraz, Fisherman’s Wharf & Optional Extras★ 4.4 · 663 reviews
- Inside Alcatraz Tour Including Fisherman’s Wharf Lunch Credit★ 4.0 · 505 reviews
- Alcatraz & Fisherman’s Wharf Tour + Cruise & Skystar Options★ 4.5 · 209 reviews
- San Francisco Combo: Ferry Building Food Tour and Alcatraz★ 4.5 · 152 reviews
- The Escape Game San Francisco in Fisherman’s Wharf★ 5.0 · 97 reviews
- Prison Break Alcatraz Escape Room in Fisherman’s Wharf★ 5.0 · 96 reviews
Just Reviewed: Fresh San Francisco Tours
- Private San Francisco City Tour + Alcatraz (Tickets Incl., Max 6)
★ 5.0 · 3 reviews - San Francisco: North Beach Food and History Walking Tour
★ 5.0 · 3 reviews - San Francisco Bay Cruise and City Combo Tour
★ 3.5 · 3 reviews - San Francisco City Half-Day Private Custom Tour
★ 5.0 · 3 reviews - San Francisco: Muir Woods, Point Reyes, and Meadery Tour
★ 4.2 · 3 reviews - Private Muir Woods and Sausalito Half Day Tour
★ 5.0 · 3 reviews
Fisherman's Wharf & Pier 39, compared.
 ★ 4.4Alcatraz, Fisherman’s Wharf & Optional ExtrasFrom $99663 reviews
 ★ 4.0Inside Alcatraz Tour Including Fisherman’s Wharf Lunch CreditFrom $89505 reviews
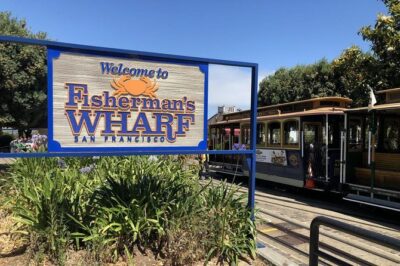 ★ 4.5Alcatraz & Fisherman’s Wharf Tour + Cruise & Skystar OptionsFrom $99209 reviews
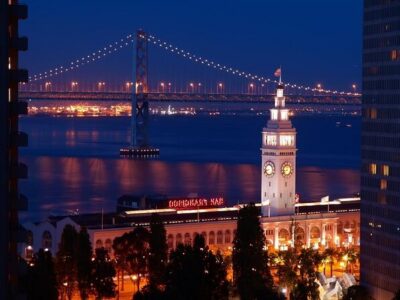 ★ 4.5San Francisco Combo: Ferry Building Food Tour and AlcatrazFrom $181152 reviews
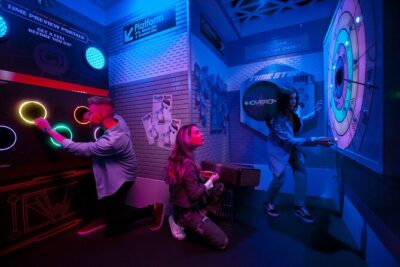 ★ 5.0The Escape Game San Francisco in Fisherman’s WharfFrom $4597 reviews
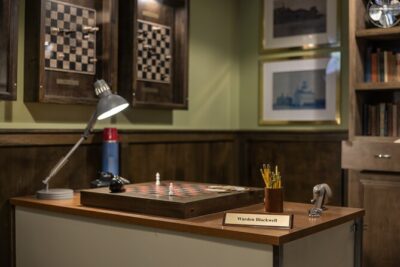 ★ 5.0Prison Break Alcatraz Escape Room in Fisherman’s WharfFrom $4596 reviews
 ★ 5.0Fisherman’s Wharf Walking TourFrom $3993 reviews
 ★ 4.5San Francisco Food Tour: Ferry Building and Ferry Plaza Farmers MarketFrom $9592 reviews
Browse the lists this tour appears in