
Reviewed · WALKING TOURS
San Francisco: Gold, Greed, and Gunslingers Walking Tour
San Francisco hides crimes in plain sight. This Gold Rush walking tour uses gritty true stories and real street details to show how greed, violence, and prejudice shaped the city you think you already know. I particularly love the way the guide ties the history to architecture near Chinatown, and I also like the stop where you see the site tied to the only neighborhood that survived the 1906 earthquake. The main consideration: this is real walking on steep streets, and it’s not ideal if you can’t handle about a mile on foot.
You’ll meet your guide at the edge of the Financial District, at the corner of Merchant and Kearny (Hilton area), usually in a black US Ghost Adventures t-shirt and with a lantern. Once you’re underway, the mood stays fun and story-driven, with room for questions and a conversational pace when the group is small. Think dark history, but told in a way that makes you look up, not just ahead.
In This Review
- Key things that make this tour worth your time
- Price and pace: what you’re really paying for
- Meeting at Merchant and Kearny, then getting the lantern-led vibe
- Chinatown edges: Gold Rush architecture and prejudice you can still read
- Devil’s Acre and Sydney Town: gangs, greed, and street-level power
- The 1906 earthquake survival stop: seeing what endured
- What’s buried under Jackson Square District: secrets under your feet
- The ship-hull saloon and the shanghaied sailors
- Arabella Ryan and James Cora: tragedy behind the grit
- Sam Brannon vs The Hounds: the gang war story with teeth
- Pier 7 finish: where the past meets waterfront air
- Who this tour suits best (and who should choose something else)
- Tips to get more from the walk
- Should you book this Gold, Greed, and Gunslingers tour?
- FAQ
- How long is the San Francisco Gold, Greed, and Gunslingers walking tour?
- Where do I meet the guide?
- What should I bring for the tour?
- Does the tour run rain or shine?
- Is video recording allowed?
- Is it suitable if I have mobility limitations?
Key things that make this tour worth your time
- Gold Rush street stories tied to buildings near Chinatown, not just dates and names
- A clear look at anti-Chinese sentiment during the Gold Rush era, grounded in local context
- Devil’s Acre and Sydney Town stops that focus on gang activity and power struggles
- The 1906 earthquake survival angle, showing how one part of the city endured when others didn’t
- Shanghaied sailors and forced labor, including a saloon built into a ship’s hull
- A strong finish at Pier 7, where history gives way to waterfront views
The city at walking pace, more routes




Price and pace: what you’re really paying for
At $35 per person for about two hours, this is priced like a “do one thing, see a lot” city experience. You’re not buying a bus ride. You’re buying a guided walk through a part of San Francisco where stories feel glued to the pavement.
That matters because the route is short, but the content is dense. You’ll cover multiple neighborhoods connected to the old Barbary Coast, and you’ll move at a human walking pace, with breaks built in by the rhythm of the storytelling. If you like tours that make you slow down and look around, this format tends to work well.
If you’re the type who wants maximum stops per minute or nonstop photo opportunities, this might feel more “story walk” than “greatest-hits highlights.” But if you want meaning behind the landmarks, the time-to-value ratio is strong.
Meeting at Merchant and Kearny, then getting the lantern-led vibe
Your start point is simple: meet in front of the Hilton Financial District at Merchant and Kearny Streets. Your guide will be wearing a black US Ghost Adventures t-shirt and carrying a lantern, and it’s smart to arrive about 15 minutes early so you’re not rushed.
This first moment matters more than you might think. Lantern + late-1800s grit is the tour’s signal: you’re in for a darker take on the city. The guide orientation also sets expectations for how the walking will feel—steep streets, real pavement, and frequent pauses to hear the next piece of the puzzle.
Also note the basic rules of the walk: the tour is rain or shine, and you’ll be doing enough walking that the operator doesn’t recommend it if you can’t handle more than a mile on foot.
Chinatown edges: Gold Rush architecture and prejudice you can still read
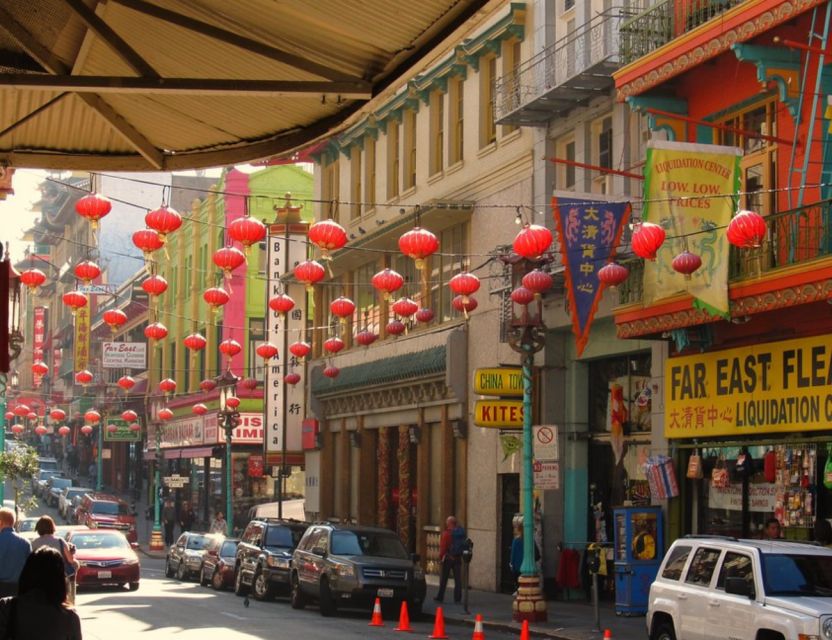
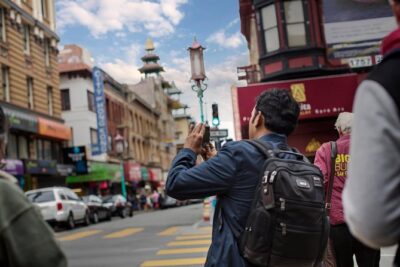
The walk begins near Chinatown, which is exactly where San Francisco’s 19th-century stories start to get uncomfortable. The guide’s approach here isn’t just “tell me what happened.” It’s “show me how the city holds it.”
You’ll pick up stories connected to anti-Chinese sentiment during the Gold Rush, with the tone framed through what’s still visible in the street setting. Even if you’ve read about the Gold Rush, you’ll likely find the emotional weight lands harder when it’s anchored to specific corners and building details.
Why this stop is valuable: you’re learning that history isn’t only in museums. It’s in how neighborhoods formed, how people were treated, and how power shaped what people felt safe to do.
Small drawback to keep in mind: if you’re sensitive to heavy topics like discrimination and violence, this early section might feel intense. The guide sticks to facts and storytelling, but the themes are not light.
Devil’s Acre and Sydney Town: gangs, greed, and street-level power

As you move deeper into the old Barbary Coast territory, the tour shifts from prejudice to outright danger. You’ll hear about the era’s gang conflicts and the pursuit of gold that fueled brutal competition.
Two stops in particular drive this part of the story: Devil’s Acre and Sydney Town. These names carry more than atmosphere. They point to a time when the city’s rough edges weren’t hidden—they were central to how business and survival worked.
Expect stories that connect:
- who held influence in the streets,
- how the city profited from chaos,
- and how people got hurt when money mattered more than people.
This section works best if you enjoy understanding cause and effect. It’s not just “there was violence.” The guide ties violence to economics: gold meant fast money, fast money meant rivalry, and rivalry meant blood.

The 1906 earthquake survival stop: seeing what endured
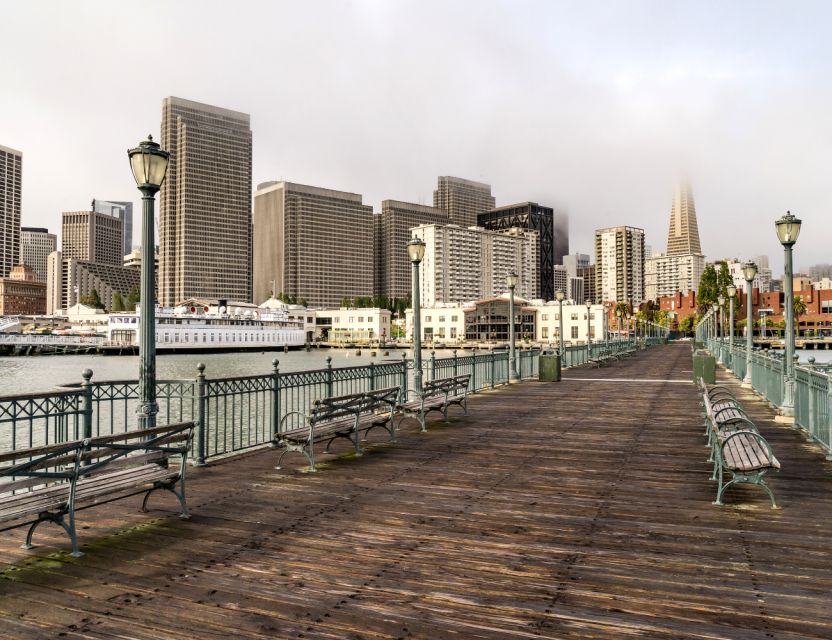
Then comes one of the more visually grounded parts of the walk: you’ll visit the only neighborhood to survive the 1906 earthquake.
That line alone is compelling, but what makes it meaningful is the contrast. San Francisco is famous for its reinvention. Here, you’re being reminded that reinvention didn’t happen everywhere. Some places broke and had to be rebuilt; others remained, so the past didn’t completely vanish.
Even if you don’t care about earthquakes on principle, you’ll probably like this stop because it explains why the city feels layered. You can stand in one place and feel how much has been rebuilt—while also seeing evidence of what didn’t disappear.
Practical consideration: this section still involves walking across hilly terrain, so it helps to have comfortable shoes and a calm pace.
What’s buried under Jackson Square District: secrets under your feet
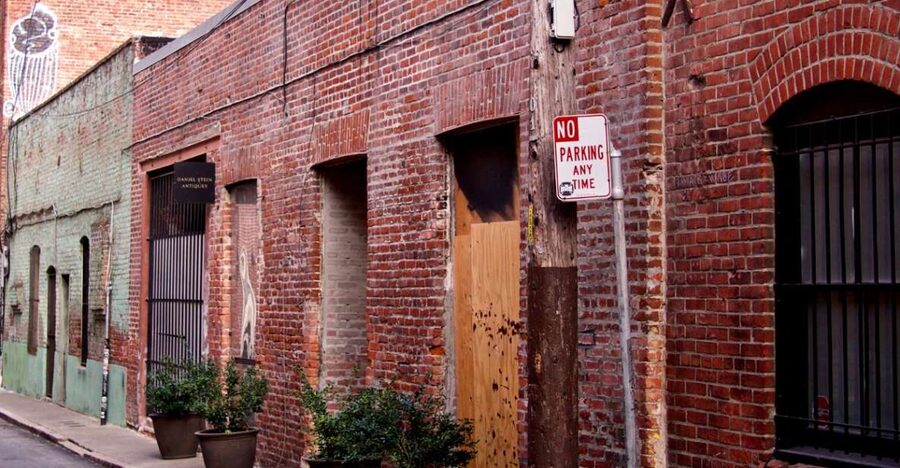
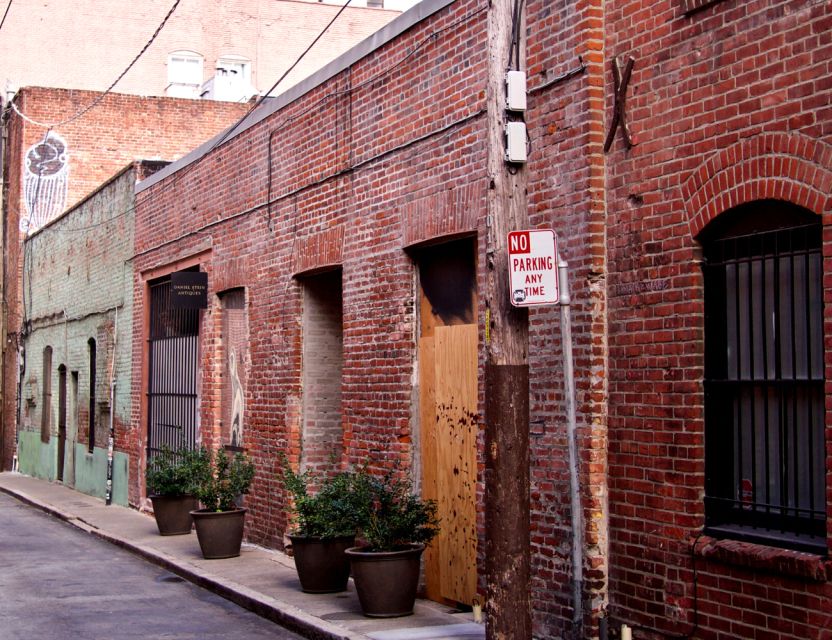
A highlight points to what’s buried under the streets of the Jackson Square District, and that theme runs through this part of the tour. The idea is simple: you’re walking on ground that has held multiple versions of San Francisco at once.
This is where the stories become more than scary entertainment. It’s a reminder of how cities preserve and erase themselves. Streets get rebuilt. Buildings get replaced. And yet, the evidence of what came before can remain in the ground.
If you like tours that help you read a city like a document, this segment is a good match. You’ll likely start looking at the street grid and building placement as clues, not just scenery.
The ship-hull saloon and the shanghaied sailors
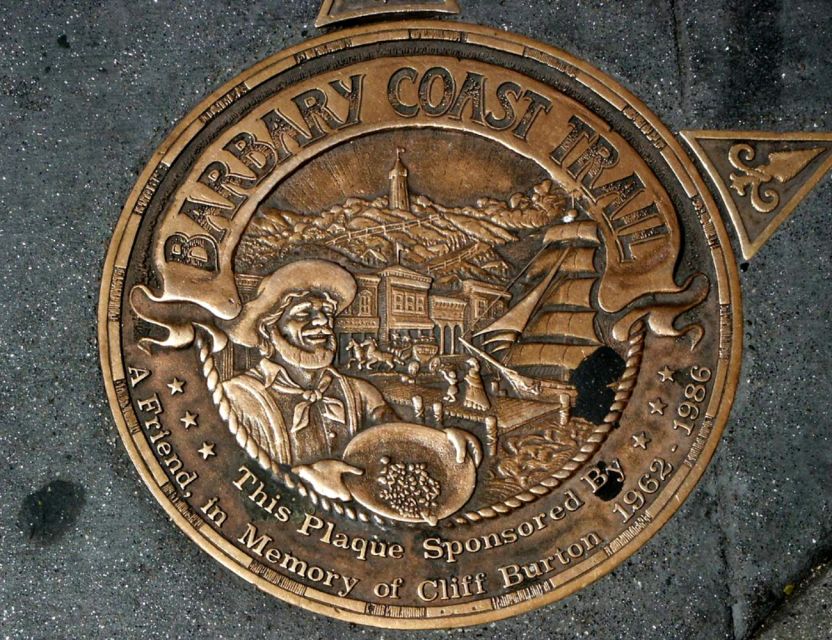
One of the tour’s standout storylines is about forced labor. You’ll see a saloon built into a ship’s hull, and you’ll hear how sailors were shanghaied and pushed into years of hard labor.
This is the moment where the Barbary Coast theme stops being about petty crime and becomes about exploitation. It also fits the tour title energy—gold and gunslinger vibes—but with a focus on real human consequences.
Why it hits: it’s one thing to hear that people were taken against their will. It’s another to understand how a specific setup in the city made it easier to do. The guide’s job here is to connect the story to the street logic.
If you’re the kind of person who asks, “How did they get away with it,” you’ll probably appreciate this stop. It gives you a practical sense of how systems worked.
Arabella Ryan and James Cora: tragedy behind the grit
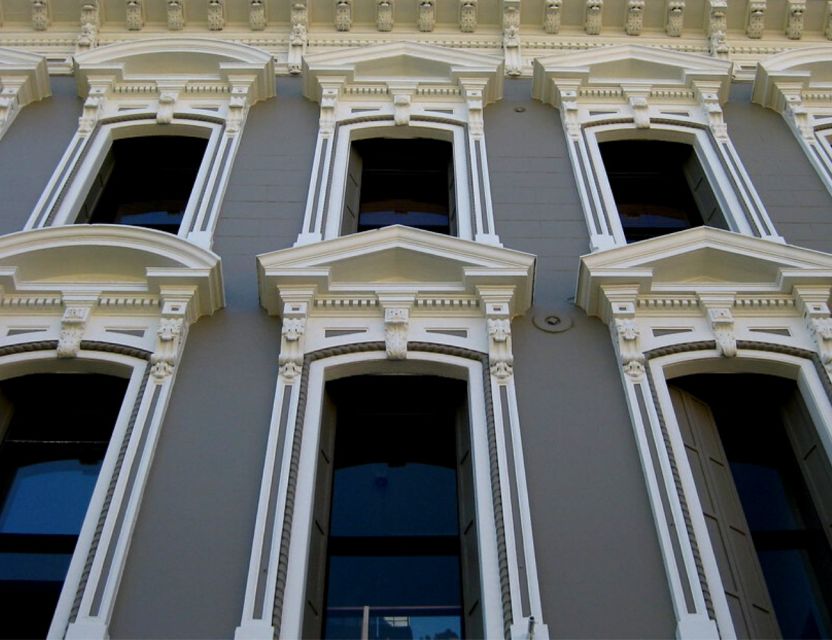
The tour doesn’t stay in gang warfare mode. You’ll also hear a tragic love story: Arabella Ryan and James Cora.
That name recognition matters because it interrupts the pattern of big-money villains and faceless violence. Suddenly, the city’s dark side becomes personal: love, loss, and the kinds of choices people made under pressure.
Even if you’re not usually into romance stories, this one tends to land because it adds emotional texture to the walk. San Francisco’s history can look like a timeline of events. Here, it’s more like a set of lives that got tangled up with the same city economy.
Sam Brannon vs The Hounds: the gang war story with teeth

You’ll also hear about Sam Brannon and his fight against a notorious gang called The Hounds.
This is the “gunslinger” part of the title—but handled as history, not fantasy. The tour uses this storyline to show how local power worked: who organized, who protected, and who benefited when street-level enforcement became a business.
What I like about including this kind of story in a walking tour is that it gives you an anchor. After multiple themes (prejudice, labor exploitation, earthquake survival), you get a clear conflict with identifiable names. It helps your brain sort the mess.
Pier 7 finish: where the past meets waterfront air
The walk ends with gorgeous waterfront views at Pier 7. That’s not just a nice payoff. It’s a smart pacing choice.
After hearing about crime and hardship, you finally get a sensory reset. You can look out over the water and remember that San Francisco isn’t only a collection of tragedies. It’s a working city that keeps moving, even when the past keeps talking.
If you want to keep the experience going, this is also a natural point to decide what you’ll do next: linger for photos, grab a bite nearby, or continue exploring the waterfront area on your own.
Who this tour suits best (and who should choose something else)
This is a strong fit if you want:
- dark city storytelling that stays grounded in real place details,
- a guided walk where you learn street-level context,
- and history that includes the uncomfortable parts, not just the postcard version.
It also tends to work well for people who like conversation. Guides on this tour have a reputation for high energy and for shaping the walk around questions. One guide even stood out for fun additions like a dog during the tour, and that kind of personal touch can make a big difference on a short, two-hour format.
Who should be careful:
- Anyone who struggles to walk more than a mile. The tour is not recommended for that.
- People with mobility impairments. The data says it’s wheelchair accessible, but it also states it’s not suitable for mobility impairments. In practice, expect steep streets and sustained walking, so check with the operator before you commit.
Tips to get more from the walk
You’ll enjoy this more if you treat it like a “look up and listen” experience, not a checklist.
- Wear comfortable shoes. San Francisco hills do not care about good intentions.
- Dress for rain or shine. The tour runs no matter what the sky decides.
- Bring questions. If a topic grabs you—gangs, sailors, prejudice, or the earthquake—ask. The guides do a lot of answering as part of the flow.
- Keep distractions low. You’re told no video recording, and you’ll get better value when you actually watch where you’re going and not just where your camera is pointed.
Should you book this Gold, Greed, and Gunslingers tour?
If you want San Francisco that goes past the shiny top layer, I think this one is a solid booking. $35 for two hours is a fair price when you compare it to how much real storytelling you’ll get in a compact route. The guide-driven, place-based style makes the city feel more understandable, not just scarier.
I’d skip it only if you know you can’t handle the walking, or if you strongly prefer upbeat history that avoids prejudice and violence. Otherwise, you’re going to come away with a different mental map—one where the past still shows up in corners, names, and street logic.
FAQ
How long is the San Francisco Gold, Greed, and Gunslingers walking tour?
The tour lasts 2 hours.
Where do I meet the guide?
Meet in front of the Hilton Financial District, at the intersection of Merchant and Kearny Streets.
What should I bring for the tour?
Wear comfortable shoes and weather-appropriate clothing.
Does the tour run rain or shine?
Yes, the tour takes place rain or shine.
Is video recording allowed?
No. Video recording is not allowed.
Is it suitable if I have mobility limitations?
The tour is not recommended if you cannot walk more than a mile, and it is also marked as not suitable for people with mobility impairments.
San Francisco Step by Step
- North Beach & Little Italy Walking Tour: Food, History & Flavor★ 5.0 · 1,044 reviews
- San Francisco Chinatown Walking Tour★ 5.0 · 778 reviews
- San Francisco LGBTQ Walking Tour with Local Guide★ 5.0 · 600 reviews
- Chinatown Walking Tour: Food, History & Flavor★ 5.0 · 575 reviews
- San Francisco: Chinatown Culinary Walking Tour★ 4.8 · 265 reviews
- San Francisco Ghost Hunt Walking Tour★ 5.0 · 177 reviews
More Tours in San Francisco
- Big Bus SF: Hop-on Hop-off Tour with 17 Stops and Sunset Option★ 4.0 · 4,539 reviews
- Napa and Sonoma Wine Country Full-Day Tour from San Francisco★ 4.5 · 4,455 reviews
- San Francisco: Hop-On Hop-Off Sightseeing Tour with 17 Stops★ 4.5 · 3,600 reviews
- Yosemite Highlights & Giant Sequoias Day Tour from San Francisco★ 4.5 · 3,455 reviews
- San Francisco Love Tour★ 5.0 · 2,830 reviews
- San Francisco: Alcatraz Island & 48-Hour Hop-On Hop-Off Tour★ 4.6 · 2,245 reviews
More Tour Reviews in San Francisco
- Muir Woods and Sausalito (Return by Bus or Ferry)★ 4.5 · 5,098 reviews
- Big Bus SF: Hop-on Hop-off Tour with 17 Stops and Sunset Option★ 4.0 · 4,539 reviews
- Napa and Sonoma Wine Country Full-Day Tour from San Francisco★ 4.5 · 4,455 reviews
- Small Group Yosemite and Giant Sequoias Day Trip from San Francisco★ 5.0 · 3,671 reviews
- San Francisco: Golden Gate Bay Cruise★ 4.7 · 3,644 reviews
- San Francisco: Hop-On Hop-Off Sightseeing Tour with 17 Stops★ 4.5 · 3,600 reviews
Just Reviewed: Fresh San Francisco Tours
- Private San Francisco City Tour + Alcatraz (Tickets Incl., Max 6)
★ 5.0 · 3 reviews - San Francisco: North Beach Food and History Walking Tour
★ 5.0 · 3 reviews - San Francisco Bay Cruise and City Combo Tour
★ 3.5 · 3 reviews - San Francisco City Half-Day Private Custom Tour
★ 5.0 · 3 reviews - San Francisco: Muir Woods, Point Reyes, and Meadery Tour
★ 4.2 · 3 reviews - Private Muir Woods and Sausalito Half Day Tour
★ 5.0 · 3 reviews
Walking Tours, compared.
 ★ 5.0North Beach & Little Italy Walking Tour: Food, History & FlavorFrom $861,044 reviews
 ★ 5.0San Francisco Chinatown Walking TourFrom $59778 reviews
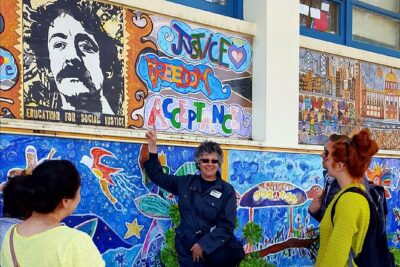 ★ 5.0San Francisco LGBTQ Walking Tour with Local GuideFrom $40600 reviews
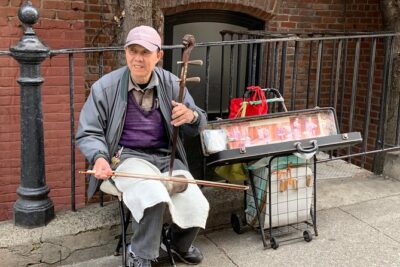 ★ 5.0Chinatown Walking Tour: Food, History & FlavorFrom $86575 reviews
 ★ 5.0#1 Sonoma Walking Food, Wine Tasting & History Tour (Public Tour)From $189457 reviews
 ★ 4.8Chinatown Culinary Walking TourFrom $84265 reviews
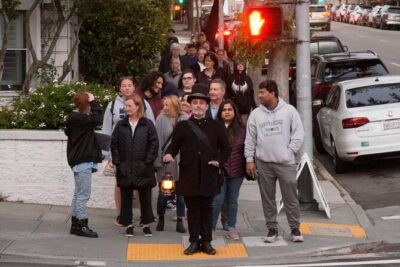 ★ 5.0San Francisco Ghost Hunt Walking TourFrom $25177 reviews
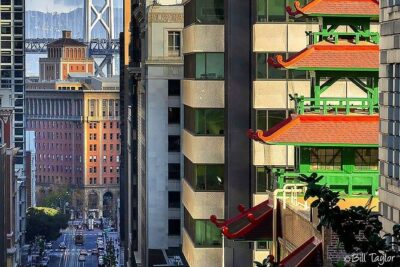 ★ 5.0Private Walking Tour of San FranciscoFrom $49150 reviews
Browse the lists this tour appears in